In some courses, you may be required to use Blackboard Collaborate Ultra, a modern, browser-based web conferencing solution. This is a cloud-based service that operates on servers located within Canada. However, recordings are managed on servers outside of Canada. By agreeing to use this service, you are consenting to the possible storage of recordings, (and any other personal information that you choose to share) outside of Canada. If you choose not to provide your consent, please contact your instructor to make alternate arrangements.
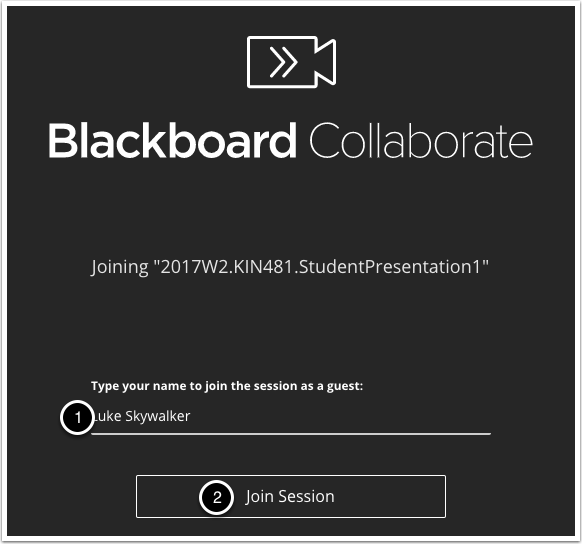
When you first login to the session, type in your name
Click ‘Join Session’
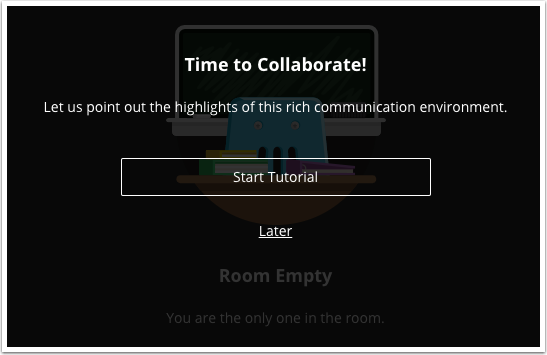
You’re given an option to go through a tutorial, which you’re welcome to do so.
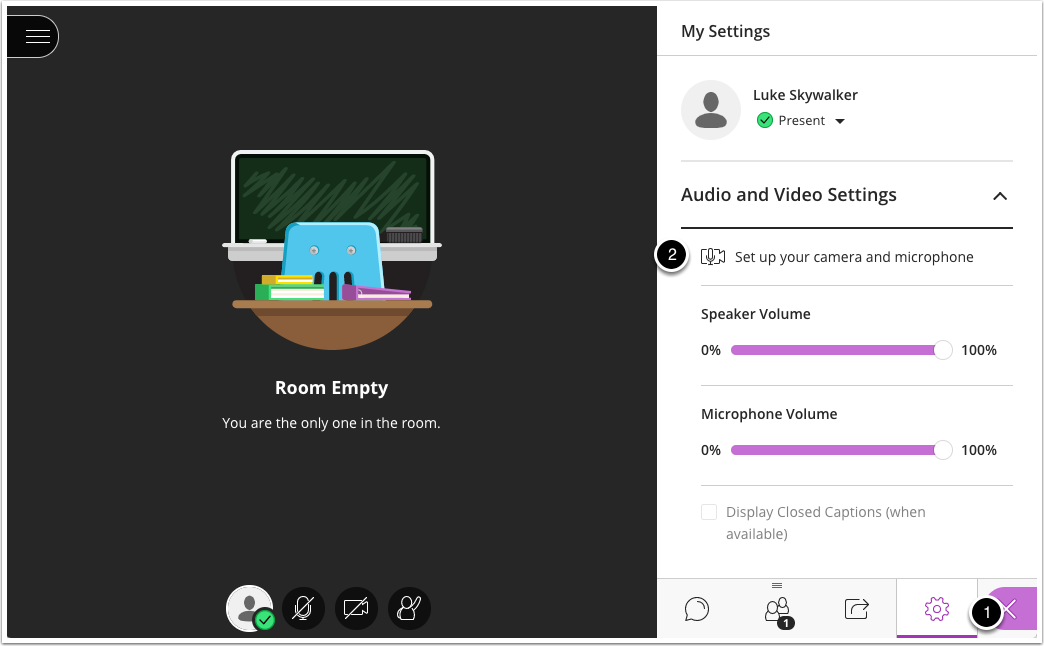
Next you’ll want to setup your microphone and Camera. First click on the right hand menu button on the bottom right
Then click ‘Setup your Camera and Microphone’
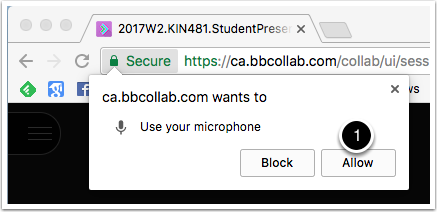
Your browser will prompt you for permission to use your mic and webcam, so click Accept (note that this might look different in other browsers.
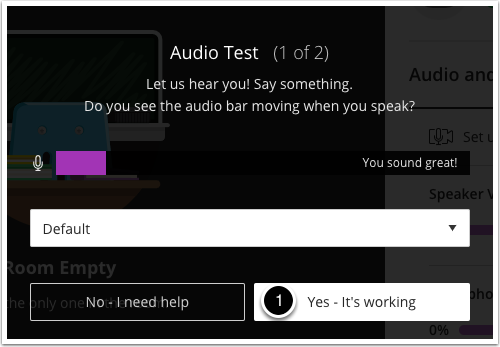
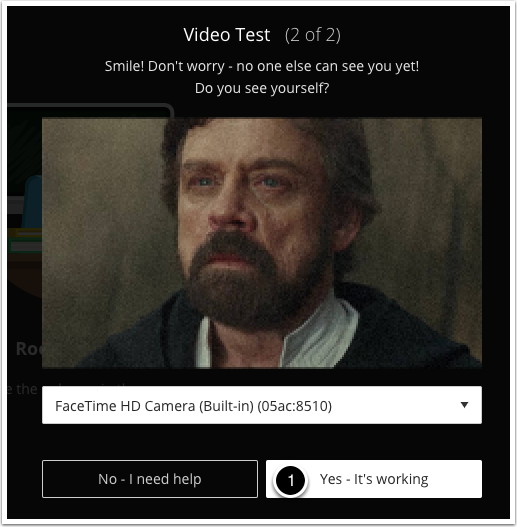
You’ll then step through a couple of screens to help you get your mic and web cam working, so click ‘Yes’, to continue.
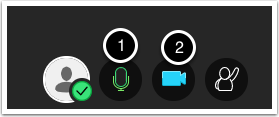
Now that you’re all set up, you can toggle your mic on and off
Or you can toggle your webcam on and off
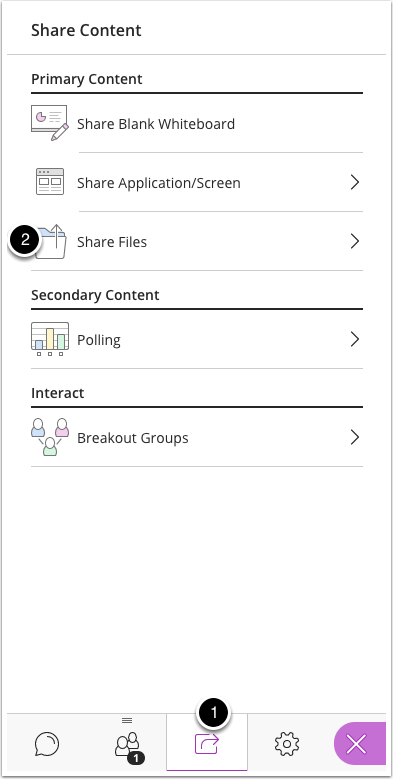
In the right hand menu, click on the ‘Share Content’ tab
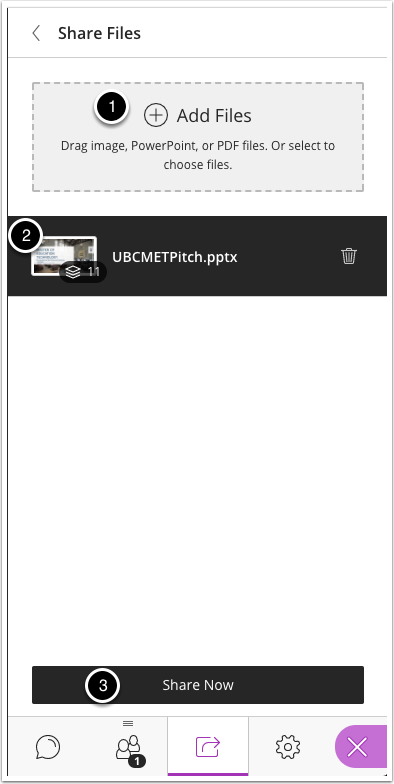
First, click ‘Add Files’. Find your files on your computer to upload them
You can upload multiple files at a time (they may take a while to upload and convert)
When you’re ready to present, select the file you want to show to the group, and click ‘Share Now’
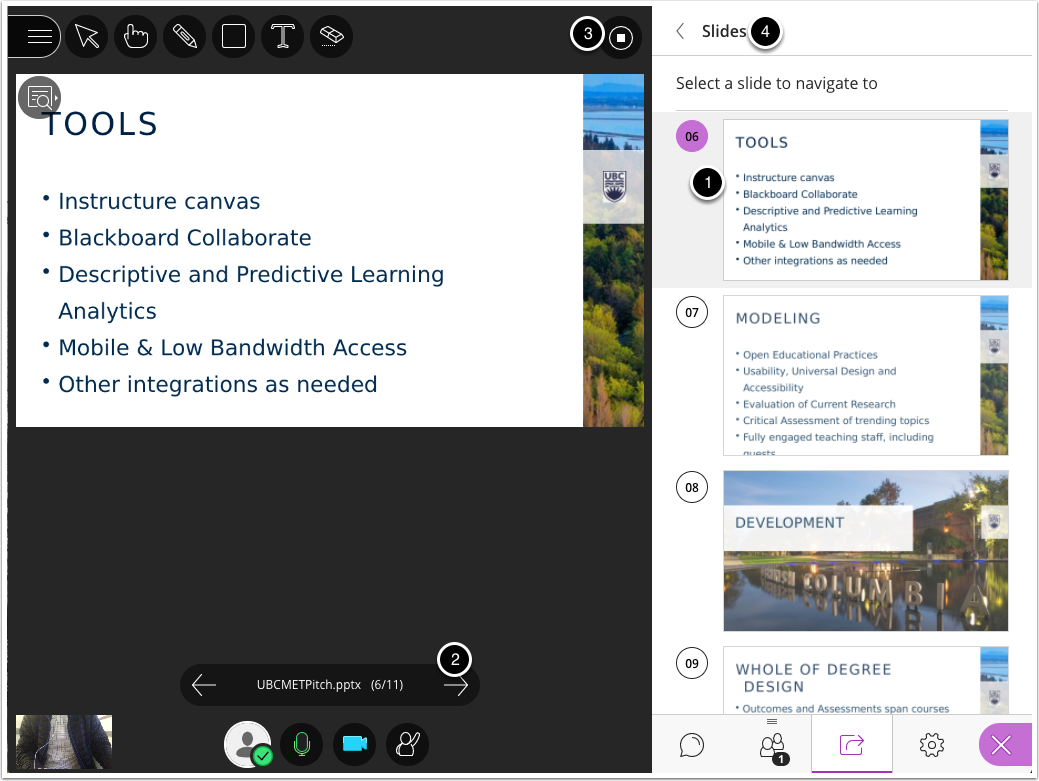
You’ll notice that after sharing the presentation, nothing will show in the central area of the meeting. Just select a slide for it to show up (this might take a few seconds)
You can navigate through just like other presentation software
Click the stop icon to stop sharong
Click on the back arrow to select a different file to share (this how you can switch between multiple presenters using their own presentations)
Before you start recording your presentation, please do a quick test run with your group to make sure you can hear each other and you can switch presentations easily (don’t worry about speed).
We’d like you to try to do just one recording, so doing this practice beforehand can help you researse.
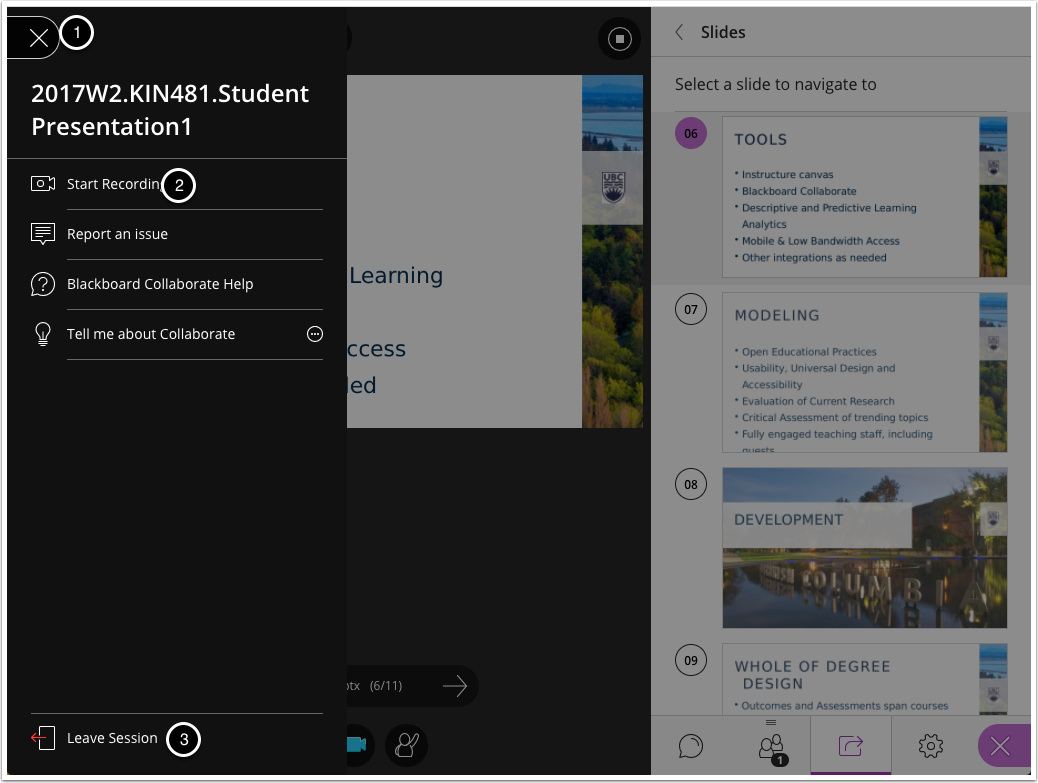
To start recording, go into the left hand menu
Click ‘Start Recording’ to begin your presentation. This also acts as the ‘Stop Recording’ button too.
When you’re finished , and you’ve stopped your recording, you can leave the session.
To download a recording, you would have to change it in the session settings prior to the start of the session. Make sure the “Allow recording downloads” tickbox is checked.
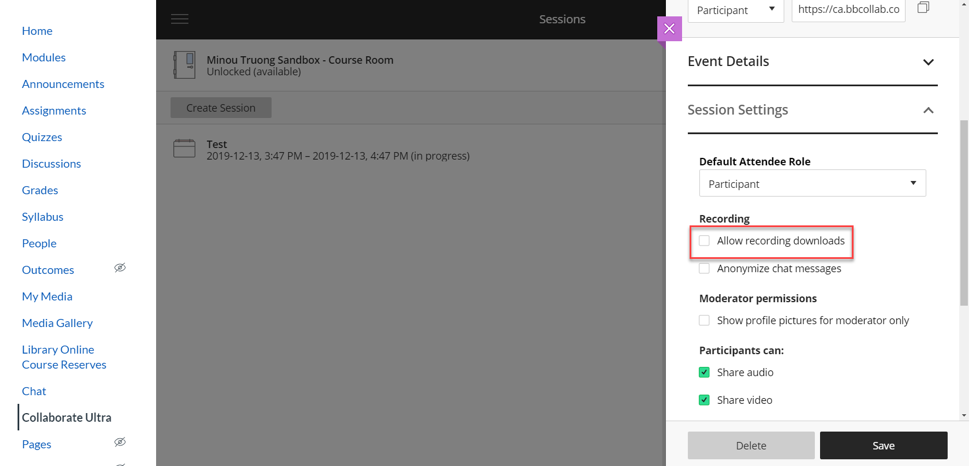
Collaborate Ultra Session Settings
If you have recorded a session and have not allowed a recording download, you will have to change the end date of the session, and then check the Allow recording downloads box. You can view your previous sessions by the dropdown menu on the right-hand side.
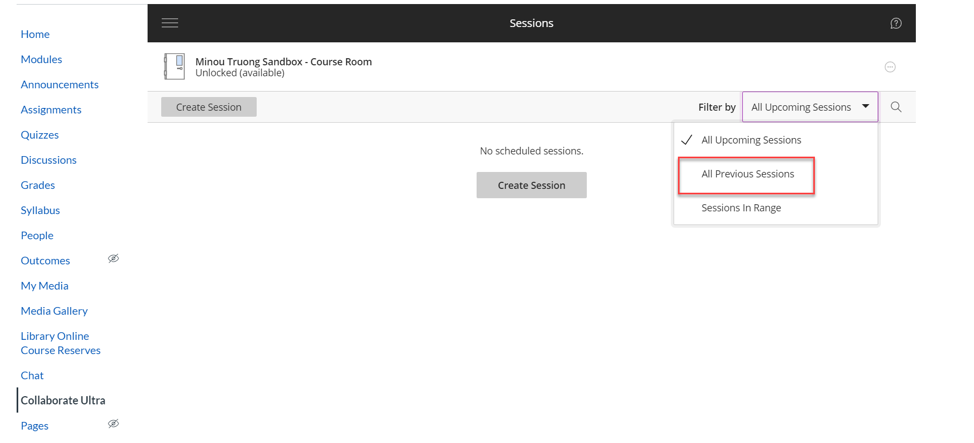
Collaborate Ultra Session List
Find the session that you want to download and change the end date to a future time (past the current time)
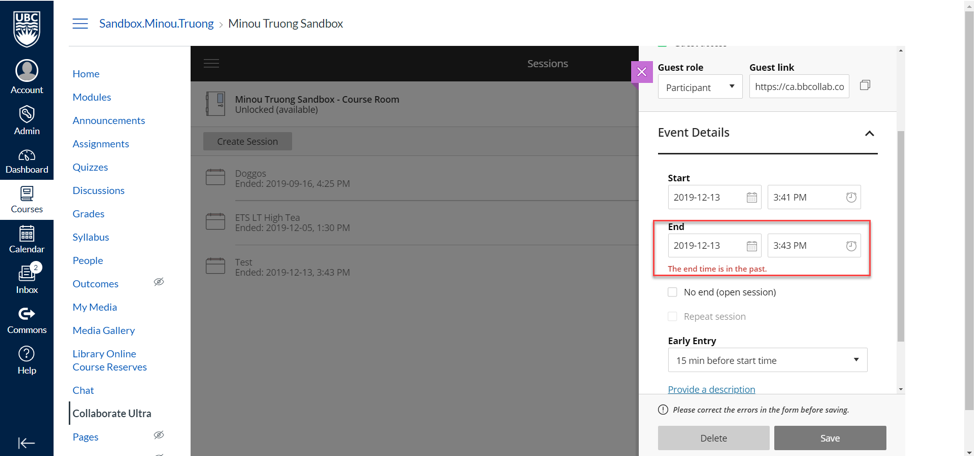
Collaborate Ultra Session Dates
The session will now appear in the “Upcoming sessions” dropdown instead of “Previous sessions”
Select the session from the Upcoming sessions menu and tick the Allow recording downloads in the Session settings as stated above.
Navigate to the “Recordings” list of the Collaborate Ultra session by clicking on the menu in the top left corner
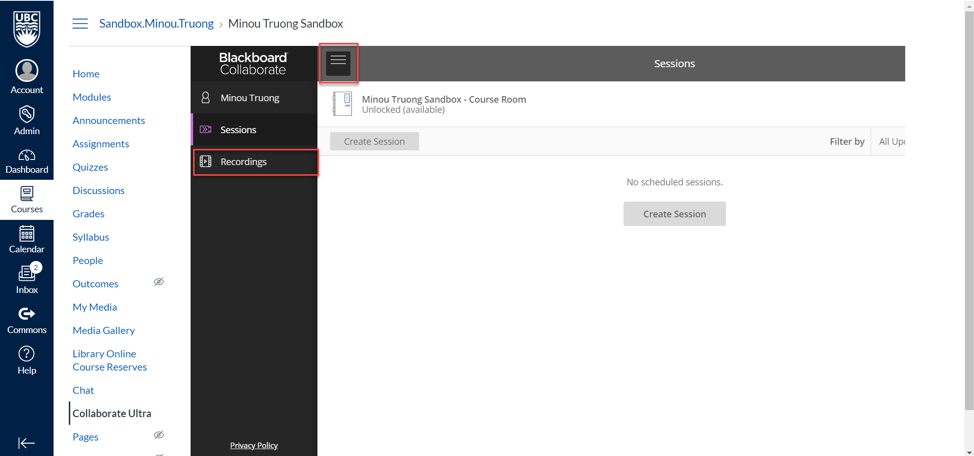
Collaborate Ultra Recordings
You can download the video recording by selecting the Recording options button on the right next to the title of your recording session.
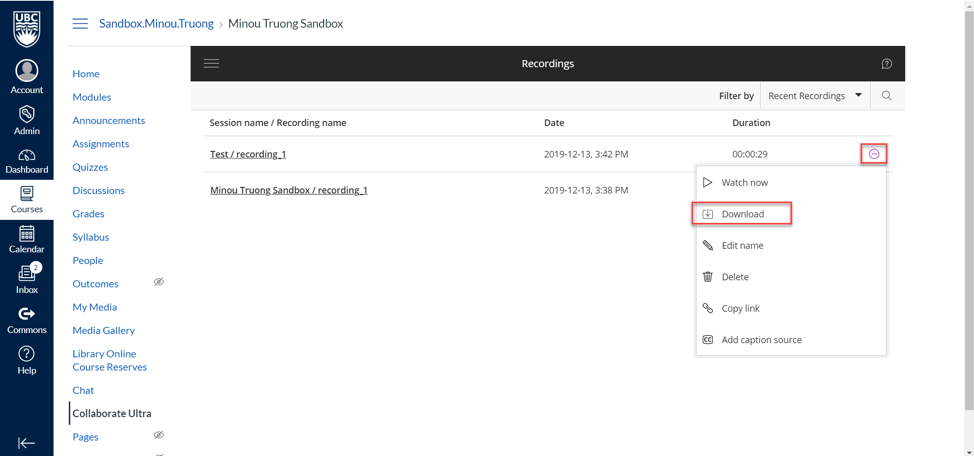
Collaborate Ultra Recording Download Menu